Having failed twice to get the engine running – at the expense of a weekend of time and a thousand miles of driving (return trip distance) each time, I was keen to succeed this trip and had prepared better (though not exhaustively) for anticipated problems. Since the second trip had determined that the engine was not even turning over (having at least done that on the first trip) I came with some new toys, specifically a 40″ breaker bar with a 1″ drive and some corresponding sockets:

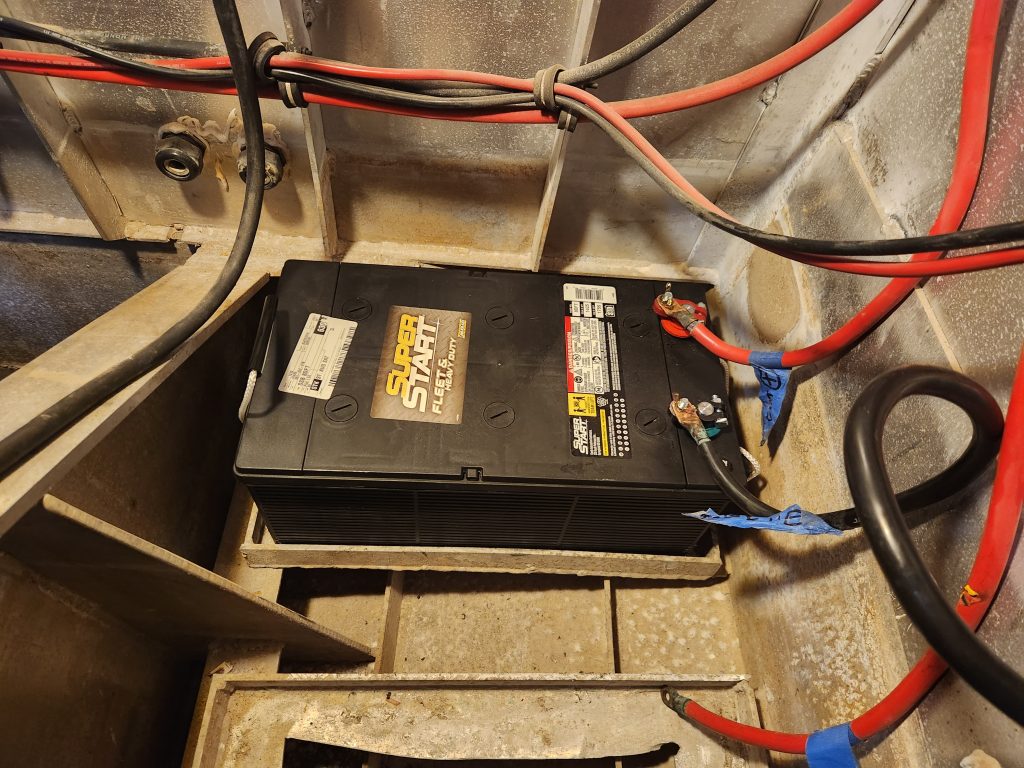
Happily, turning the engine over by hand with the breaker bar was very easy, ruling out mechanical issues (which had been a slight concern only because I had been cranking it with cooling water hooked up previously). Having ruled out physical seizure of the engine, the next thing to investigate was the electrical connection between the battery and the starter motor, for which I also came prepared with a brand new Perko battery selector – the heaviest duty 2 way selector they make.
At this point I opened a new can of worms – not a surprise inasmuch as with boats one often stumbles into decisions by prior owners or builders that one disagrees with. I found the original Perko switch (just a simple switch, not a selector) was damaged inside – and rated for far fewer amps than I understand this starter to draw (up to 600A). Note the melted plastic on the upper terminal in the below picture and the amp ratings – 250A continuous and 350A intermittent.
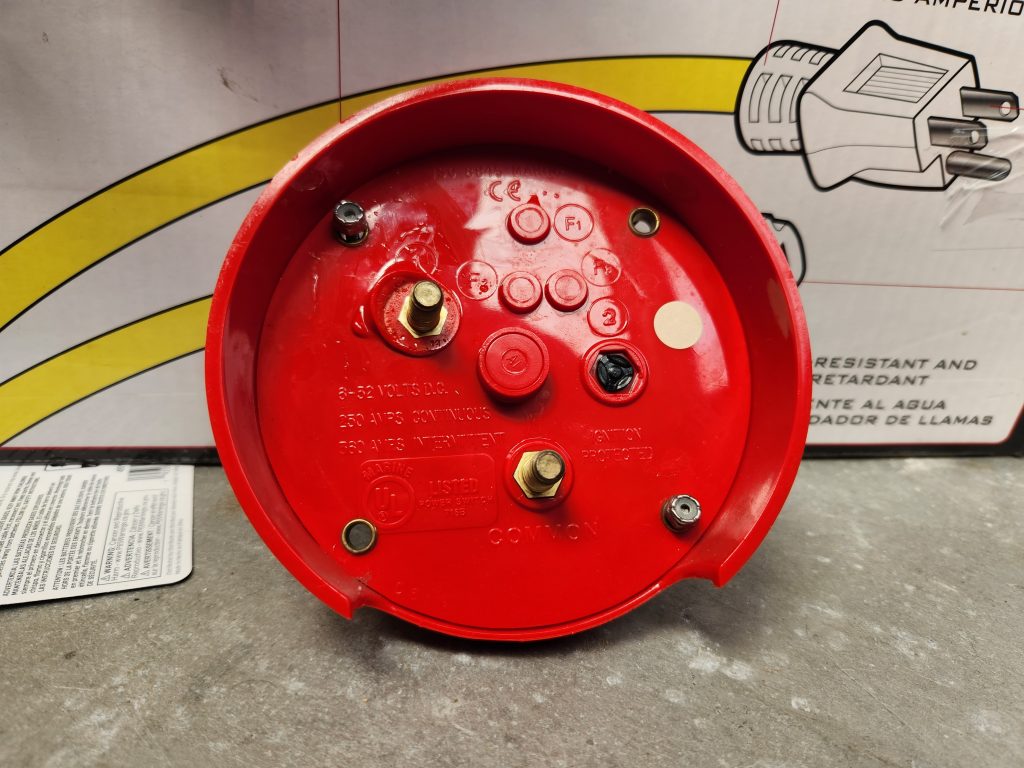
It often seems to be the case that people economize with such things, but in my view this is very much a false economy. While clearly the vessel was running with this equipment historically (ie it technically worked, at least in ideal conditions) – to melt out the battery terminal and Perko switch well before the starter motor even became warm to the touch tells me that there really wasn’t enough safety factor here. You want to be confident your engine starting system will give you it’s very best in a critical situation. It’s really not worth saving $150 on the cheaper switch here if it may cost the vessel or the lives of those aboard.
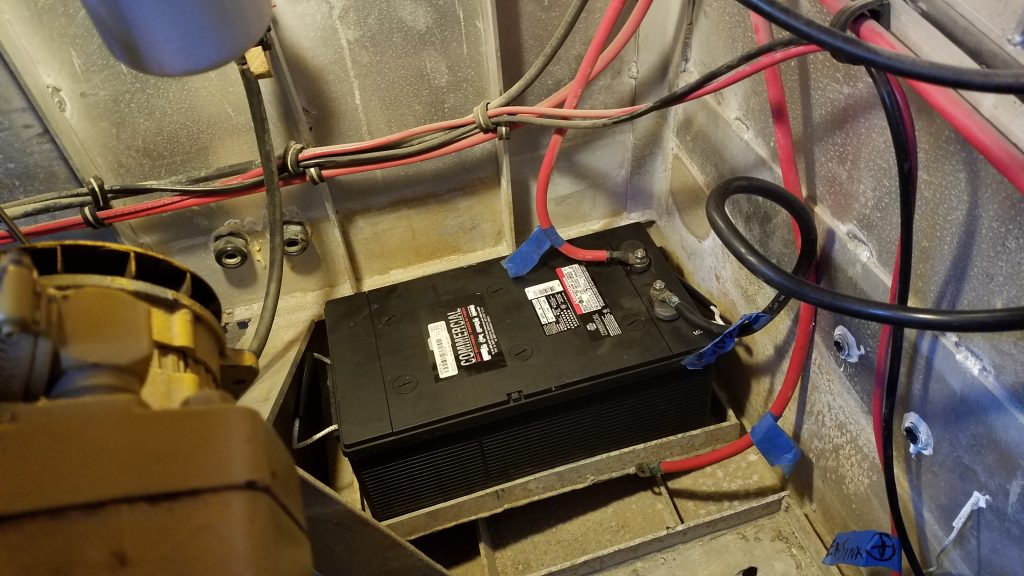
Note below the replacement Perko switch, rated to 850A intermittent (which should provide reasonable safety margin versus the 600A the starter can draw). This one is intended to also allow me a backup starting battery – or the option to start from two batteries at once. The original set up has no such safety provision – although there is a space for a second battery in the engine room, it is set up to power the anchor windlass (for which I intend to install a dedicated battery much nearer to the bow).
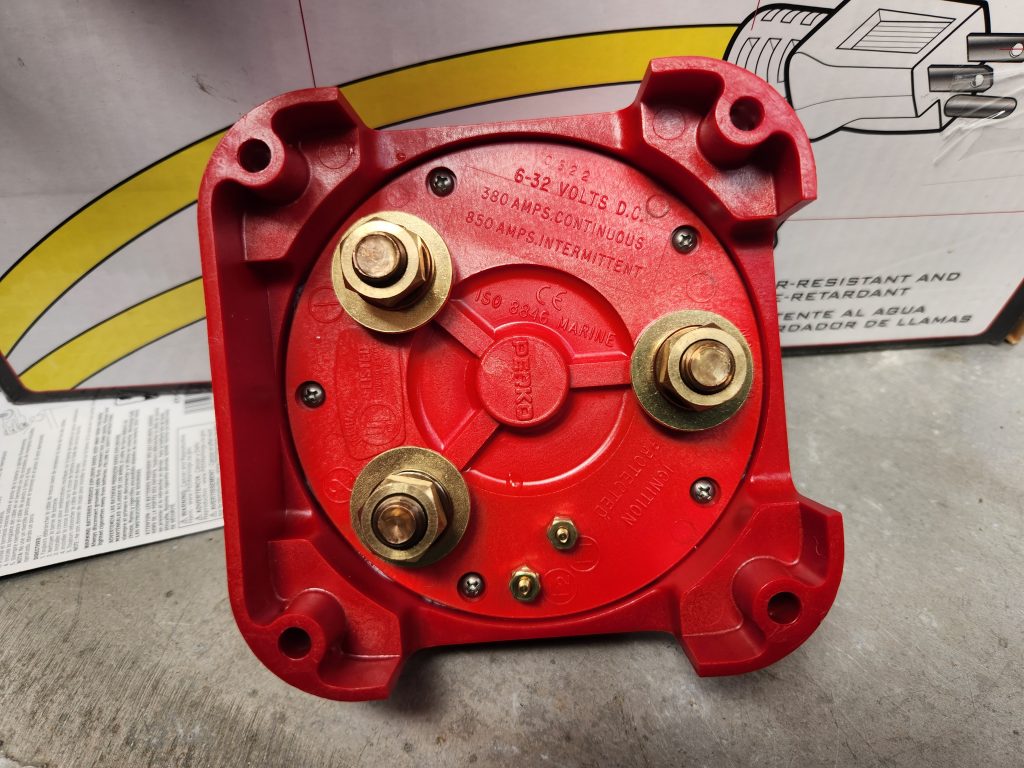
At this point I ran into another issue, which is that the terminals on the new Perko switch are bigger than on the old (to accommodate the higher current flow). At this point I calculated voltage drop for the existing 2/0 AWG battery cables and determined that with the existing cabling I can expect minimum drop around ~10% improving to ~5% if I upsize to 4/0 AWG. Since these are best case estimates, I also regard the cabling as lacking sufficient safety margin, even in the starter motor scenario (where relatively more voltage drop can be tolerated).
I had not originally anticipated weakness in the starting system as the vessel was professionally built (by Topper Hermanson in Jacksonville FL) and my assumption was that the critical systems would be accordingly robust. However, it is rather common one runs into these cans of worms with a newly purchased vessel and opinions as to safety factor do vary.
Being unable to replace the cabling and terminals on the spot, I decided to bypass the original Perko by bolting the existing cables together for the purposes of continuing to troubleshoot (with a generous helping of insulation tape to safeguard against shorting the battery, as the whole system passes through a common ground that is also bonded to the metal hull).
From here I proceed to successfully crank the engine with the starter with pauses for the system to cool and longer breaks to recharge the starting battery. Besides purging as much air as possible via the injector bleed valve I cracked and bled the injectors themselves.
Since the engine still steadfastly refused to start I even tried applying a little ether via the air intake (which I’m not generally a fan of). The engine would fire on ether but at no time sounded like it was in danger of doing so on diesel.
Observing that the hand priming pump loses prime over time and after cranking, and that the racor filter is draining back into the fuel tank I believe it is most likely that the engine is failing to start owing to a leak somewhere in the fuel system. Since the system is all suction based, there is no conveniently dripping diesel to help trace this and I had not prepared to work through this issue on this trip.
Consequently this can be considered progress; and certainly I’m learning more about my engine even if it is not yet running. Next trip I will take replacement fuel filters and a means to help trace leaks in the system – and start another project in parallel as it’s a long way to drive to fail to start an engine.